How To Draw A Simple Brain: A Step-by-Step Guide For Beginners
Are you fascinated by the human brain and want to learn how to draw it in a simple yet captivating way? Drawing a brain is not only a fun activity but also a great way to explore your creativity and understand the anatomy of this incredible organ. Whether you're an aspiring artist or just looking for a new hobby, this guide will walk you through the process of creating a simple brain drawing. In this article, we will cover everything from basic shapes to adding intricate details, ensuring your brain drawing is both accurate and visually appealing. By the end, you'll have a clear understanding of how to create a brain illustration that captures its complexity in a simplified form.
Drawing a simple brain is easier than you might think. With the right guidance and a bit of practice, you can master this skill and even use it to create artwork, educational materials, or personal projects. This guide is designed to help you understand the anatomy of the brain while keeping the process straightforward and enjoyable. We'll also explore tips and techniques to make your drawing stand out, ensuring it’s both professional and engaging.
Before we dive into the step-by-step process, let’s take a moment to appreciate the brain’s unique structure. The brain is made up of several parts, including the cerebrum, cerebellum, and brainstem, each with its own distinct shape and function. By breaking down these components into simple shapes, you can create a brain drawing that is both accurate and easy to replicate. Let’s get started with our comprehensive guide to drawing a simple brain.
Read also:Net Worth Of Amber Rose A Comprehensive Guide To Her Wealth And Career
Table of Contents
- Understanding the Brain's Structure
- Materials Needed for Drawing
- Step 1: Start with Basic Shapes
- Step 2: Adding Intricate Details
- Step 3: Mastering Shading Techniques
- Step 4: Coloring Your Brain Drawing
- Common Mistakes to Avoid
- Finding Inspiration for Your Brain Art
- Practical Applications of Brain Drawings
- Conclusion: Start Drawing Today!
Understanding the Brain's Structure
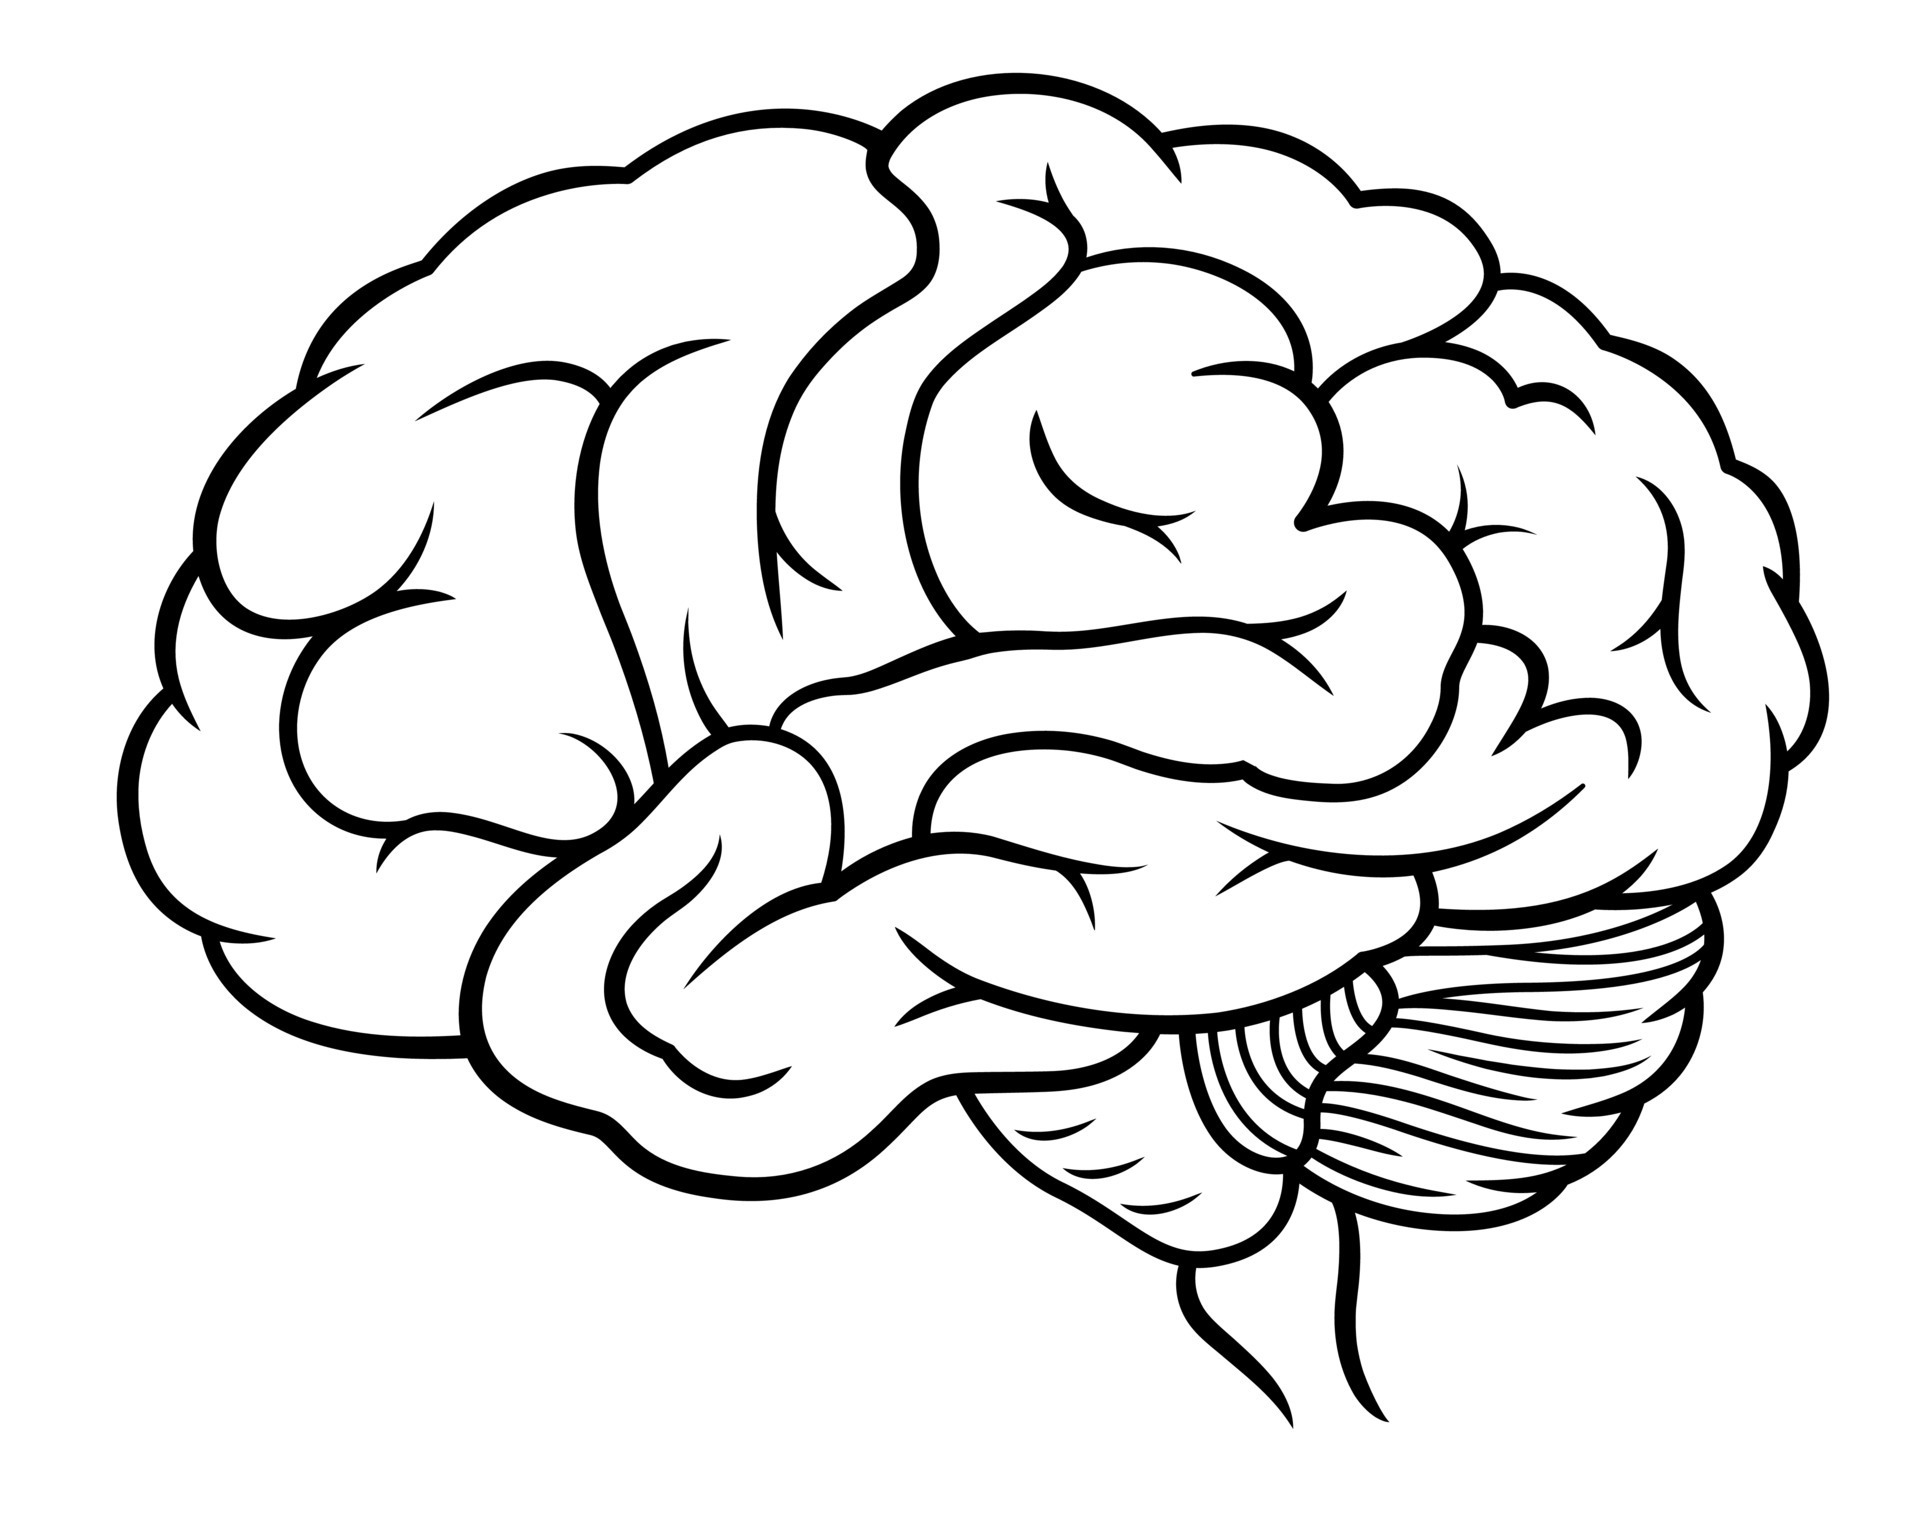
Before you start drawing, it’s essential to understand the basic anatomy of the brain. The human brain is divided into three main parts: the cerebrum, cerebellum, and brainstem. The cerebrum is the largest part and is responsible for higher brain functions like thinking and decision-making. It is divided into two hemispheres and has a wrinkled surface known as the cerebral cortex. These wrinkles, or gyri, are what give the brain its distinctive appearance.
The cerebellum, located below the cerebrum, is smaller and plays a crucial role in coordinating movement and balance. It has a more uniform, rounded shape compared to the cerebrum. Finally, the brainstem connects the brain to the spinal cord and controls essential functions like breathing and heart rate. Understanding these components will help you create a more accurate and detailed brain drawing.
Key Features to Focus On
- Gyri and Sulci: These are the ridges and grooves on the brain's surface that give it texture.
- Hemispheres: The brain is divided into left and right hemispheres, each with its own functions.
- Cerebellum: A smaller, rounded structure located beneath the cerebrum.
Materials Needed for Drawing
To create a simple brain drawing, you don’t need expensive or complicated materials. A few basic tools will suffice to help you achieve a professional-looking result. Here’s a list of materials you’ll need:
- Pencil: A standard graphite pencil is perfect for sketching the initial outline.
- Eraser: Use a soft eraser to remove any mistakes or lighten lines.
- Paper: Choose a smooth, high-quality paper for better results.
- Markers or Colored Pencils: These are optional but can add depth and color to your drawing.
Having the right materials will make the drawing process smoother and more enjoyable. If you’re a beginner, start with a pencil and paper, and gradually experiment with colors and shading techniques as you gain confidence.
Step 1: Start with Basic Shapes
The first step in drawing a simple brain is to break it down into basic shapes. Begin by sketching an oval shape for the cerebrum, as this is the largest part of the brain. Below the oval, add a smaller, rounded shape for the cerebellum. Use light, gentle strokes to ensure you can easily erase or adjust the shapes as needed.
Next, draw a vertical line down the center of the oval to represent the division between the left and right hemispheres. This line will serve as a guide for adding details later. Remember, the goal at this stage is to create a rough outline that captures the overall structure of the brain.
Read also:Lip Gallagher Height Unveiling The Truth Behind The Fanfavorite Character
Tips for Sketching Basic Shapes
- Keep your lines light and loose to allow for adjustments.
- Focus on proportions to ensure the cerebrum and cerebellum are correctly sized.
- Use reference images to guide your sketching process.
Step 2: Adding Intricate Details
Once you have the basic shapes in place, it’s time to add details to your brain drawing. Start by sketching the gyri and sulci, which are the ridges and grooves on the brain's surface. Use curved lines to create a natural, organic look. These details are what give the brain its unique texture and make it instantly recognizable.
For the cerebellum, use smaller, more uniform curves to represent its smoother surface. Pay attention to the spacing between the lines to ensure they look balanced and realistic. You can also add subtle details to the brainstem, such as small lines or dots, to indicate its connection to the spinal cord.
How to Perfect the Details
- Use reference images to study the brain’s texture and patterns.
- Vary the thickness of your lines to create depth and dimension.
- Take your time to ensure the details are proportional and consistent.
Step 3: Mastering Shading Techniques
Shading is an essential step in bringing your brain drawing to life. By adding shadows and highlights, you can create a three-dimensional effect that makes your drawing more realistic. Start by identifying the light source in your drawing. This will help you determine where to add shadows and highlights.
Use a blending tool or your finger to smooth out the shading and create a seamless transition between light and dark areas. Focus on the grooves (sulci) and ridges (gyri) to emphasize their texture. For the cerebellum, use lighter shading to highlight its smoother surface compared to the cerebrum.
Shading Tips for Beginners
- Experiment with different pencil grades for varying levels of darkness.
- Use cross-hatching or stippling techniques for added texture.
- Blend carefully to avoid smudging or overworking the paper.
Step 4: Coloring Your Brain Drawing
If you want to take your brain drawing to the next level, consider adding color. Coloring can make your drawing more vibrant and visually appealing. Use colored pencils or markers to add subtle hues to different parts of the brain. For example, you can use shades of pink or gray for the cerebrum and cerebellum.
When coloring, pay attention to the shading you’ve already applied. Layer the colors lightly to maintain the texture and details of your drawing. You can also use contrasting colors to highlight specific areas, such as the gyri and sulci, making them stand out even more.
Choosing the Right Colors
- Stick to natural tones like gray, pink, and beige for a realistic look.
- Use complementary colors to create contrast and depth.
- Avoid over-saturating the colors to preserve the drawing’s details.
Common Mistakes to Avoid
Even experienced artists can make mistakes when drawing a brain. One common error is focusing too much on perfection, which can lead to overworking the drawing. Remember, the goal is to create a simple and engaging representation of the brain, not a medical illustration.
Another mistake is neglecting proportions. Ensure the cerebrum, cerebellum, and brainstem are correctly sized in relation to each other. Additionally, avoid using too much pressure when sketching, as this can make it difficult to erase or adjust lines later.
Tips to Avoid Mistakes
- Work in layers, starting with light sketches and gradually adding details.
- Use reference images to guide your proportions and details.
- Take breaks to assess your work and make necessary adjustments.
Finding Inspiration for Your Brain Art
If you’re looking for inspiration to enhance your brain drawings, there are plenty of resources available. Explore anatomy books, online tutorials, and even real-life brain models to study the organ’s structure and texture. You can also draw inspiration from other artists who specialize in anatomical art.
Consider experimenting with different styles, such as abstract or minimalist interpretations of the brain. This can help you develop your unique artistic voice while still maintaining the essence of the brain’s structure. Don’t be afraid to try new techniques or incorporate elements from other art forms into your work.
Sources of Inspiration
- Anatomy textbooks and diagrams.
- Online art communities and forums.
- Art galleries and exhibitions featuring anatomical art.
Practical Applications of Brain Drawings
Drawing a simple brain isn’t just a fun activity; it also has practical applications. Educators often use brain illustrations to teach students about anatomy and neuroscience. Your drawings could be used in classrooms, textbooks, or online courses to make complex concepts more accessible.
Additionally, brain drawings can be used in creative projects, such as posters, infographics, or even tattoos. They can also serve as a therapeutic activity, helping you relax and express your creativity. Whether you’re an artist, educator, or hobbyist, learning to draw a brain can open up a world of possibilities.
Where to Use Your Brain Drawings
- Educational materials like textbooks and presentations.
- Art projects, including posters and digital designs.
- Personal projects, such as journals or scrapbooks.
Conclusion: Start Drawing Today!
Drawing a simple brain is a rewarding and educational experience that anyone can enjoy. By following the steps outlined in this guide, you can create a brain illustration that is both accurate and visually appealing. Whether you’re a beginner or an experienced artist, this process will help you develop your skills and explore your creativity.
We encourage you to practice regularly and experiment with different techniques to make your drawings unique. Don’t forget to share your work with others and seek feedback to improve your skills. If you found this guide helpful, consider exploring other drawing tutorials or leaving a comment below to share your thoughts. Happy drawing!
Discover The World Of Doner G: A Comprehensive Guide To This Flavorful Delight
Orlando Health And Wellness: A Comprehensive Guide To Living A Balanced Life
Who Is Madeline Soto's Father? Unveiling The Life And Legacy Of A Key Figure
Doodle style human brain drawing 14441559 Vector Art at Vecteezy

How to Draw a Brain 14 Steps wikiHow
